


Many of the responses to my oilcloth-lined bag giveaway have included comments about taking the bags to the beach. Reading these comments left me dreaming of whiling away the hours on some sandy beach with a thick book and a cold drink. These daydreams have been an ever-present thought the last few days. So, it's no surprise that when I passed the dishtowel section at Dollar Tree yesterday, I immediately had a vision of a cheap and easy bag to sling over my shoulder and carry my flips flops and beachtowels.
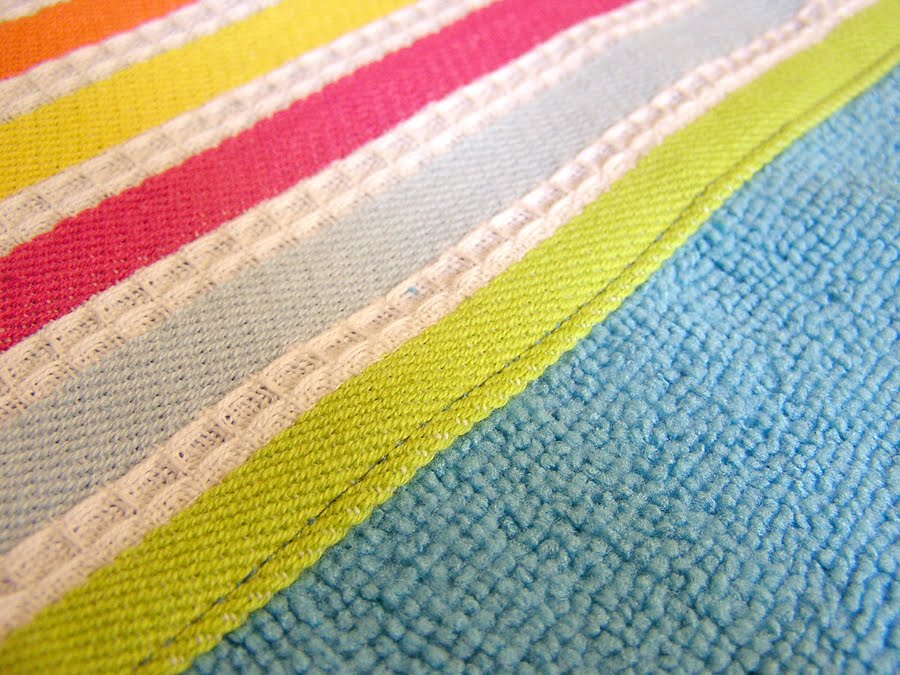
I knew that these green and blue microfiber cloths would be perfect for a washable beach bag that could handle getting doused on the deck of a speedboat, too. Then I spotted these waffle-weave dishtowels with the striped trim. All those blues and greens, bright oranges and yellow took my snow-weary brain straight to Mexico. Of course, I couldn't tell how big any of the cloths were without tearing the tags off right there in the store, so I figured I would take my chances. Total spent: $4.

I ran next door to Jo-Ann Fabric and found this adorable polka-dotted grosgrain ribbon for $3.50/roll. What whimsical handles this ribbon would make! And I had a gift card left from my birthday. Total spent at Jo-Ann: $0 (and I found some adorable fabric in the remnant bin - stay tuned for the cute projects I have planned for those.)
I got everything home and measured each towel. The microfiber cloths were 14"x14" and the dishtowels were considerably larger. Using my rotary cutter, I cut off the striped trim on each dishtowel. The width of this determined how much of each microfiber towel I would use.

I pinned the waffle-weave trim to a blue microfiber cloth and stitched it with right sides facing up. Don't worry about rough edges, because the top edge will be folded in when you turn the lined bag inside out. Then I determined the amount of green microfiber cloth I wanted for my bag's base. I pinned right sides together and sewed across to make one long piece of fabric.

When placing the striped trim, I used the finished edge of the dishtowel for the bottom edge of the trim. Consequently, I just needed to top stitch this finished edge carefully to complete the top of the bag.
Here's one finished side of the outer part of the bag. I made an identical panel for the other side. And finally, I cut one 2.5" square out of each bottom corner. These were used to create the bag's square bottom. The total finished panel was 14" wide x 22" tall. I used the remainder of the waffle-weave dishtowels to create two panels that would make up the inside lining of the bag.

Next, I cut two 24" long pieces of the grosgrain ribbon. I positioned the ribbon 2" from the side of each panel with the right sides together. Double stitch these to make sure they are securely attached. Again, don't worry about raw edges on the ribbon, as they will be sewn into the final seam when the bag's lining is attached.

Finally, I sewed the outer panels to each other, the inner panels to each other and attached the two sections together. For more detail on each of these steps, take a look at this pattern by Jordynn Mackenzie. It's the same pattern that I used for the oilcloth-lined shoulder bags. Although, I adapted the pattern a great deal for my own needs with the beachbag, Jordynn's pattern provides the basics to make creating a lined bag easy to understand.
Here's the final product once it was turned right-side out. The best part? The bag is completely machine washable and dryable and soaks up water from damp towels and beach toys. Heck, you could even use it as a towel if you needed to.
Here it is stuffed and ready for my trip to Mexico. Now I just have buy the plane tickets, save the money, convince my husband and find the time. Maybe I'll just take a quick trip to the pool instead!

Don't forget that the givewaway to win one of the oilcloth-lined shoulder bags ends on Thursday. Click here for details on how to enter. Happy sewing!


0 comments:
Post a Comment